
About “In Point (Mark In) Out Point (Mark Out)” in Premier Pro. If you remember it, the efficiency of editing will increase, so let’s keep it down
In Point (Mark In) Out Point (Mark Out)
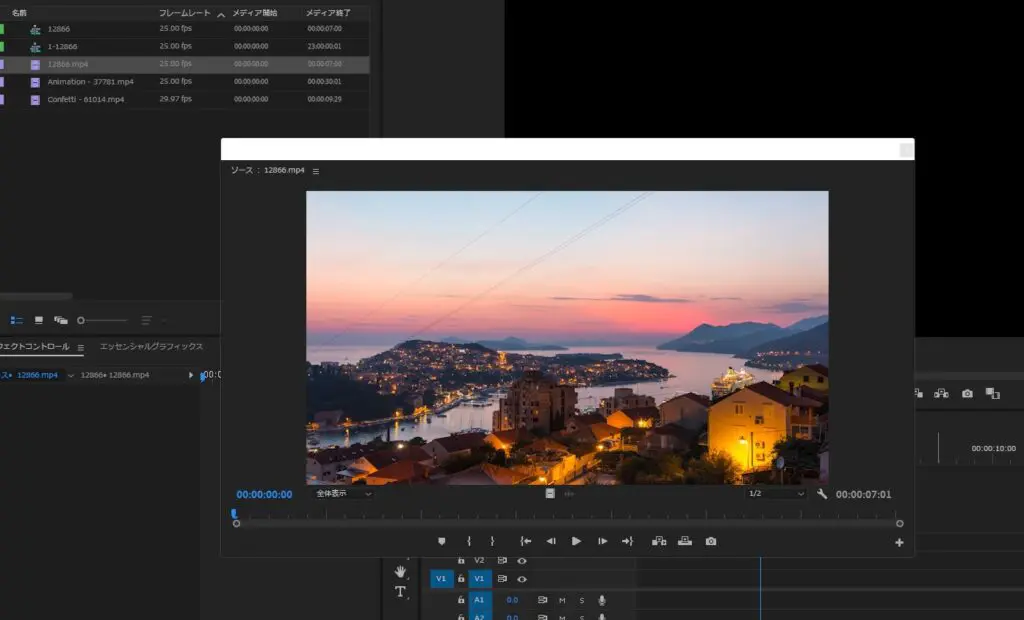
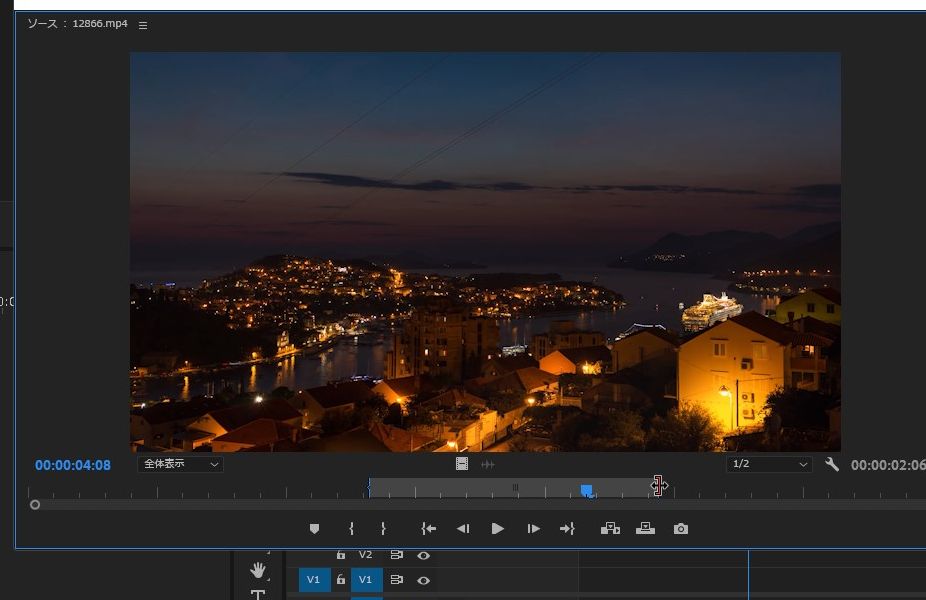
Double-click to open a source loaded into the project panel to display the “source monitor” where you can check the content of the source.

If you look at the icons at the bottom of the preview screen in the source monitor, you’ll see an icon that says “mark out”.
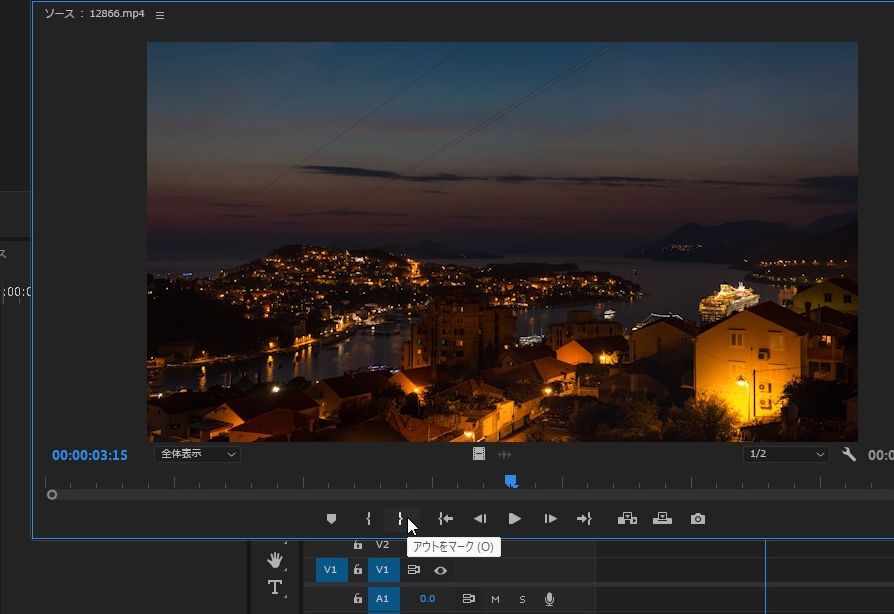
out point (mark out)
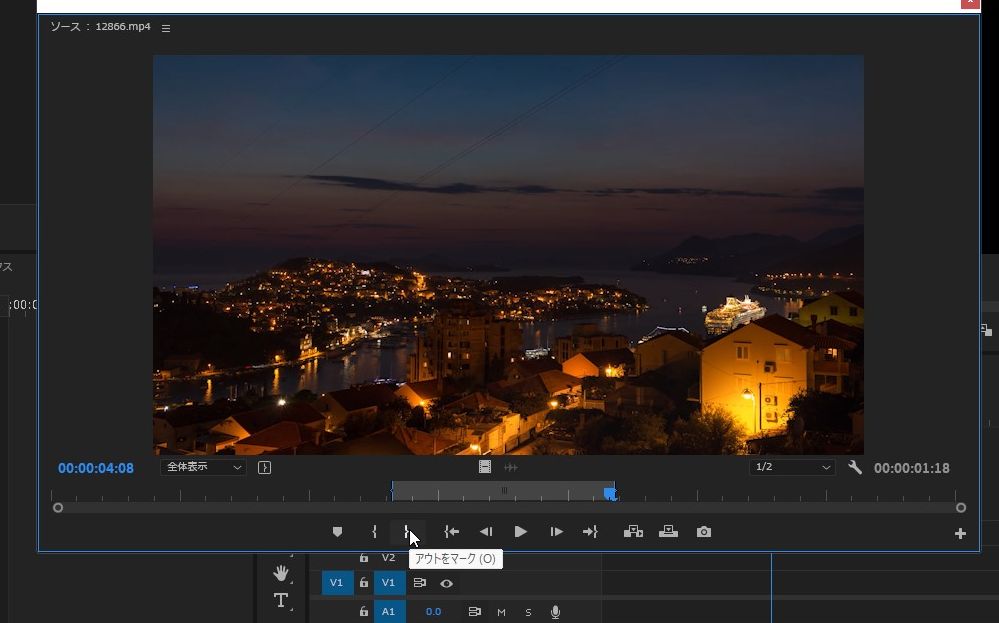
Click Mark Out to specify the ” out point “. A blue and light gray bar appears above the playback icon in the Source monitor. Out point is on the right.
in point (mark in)
Then click Mark In. This is the left part.
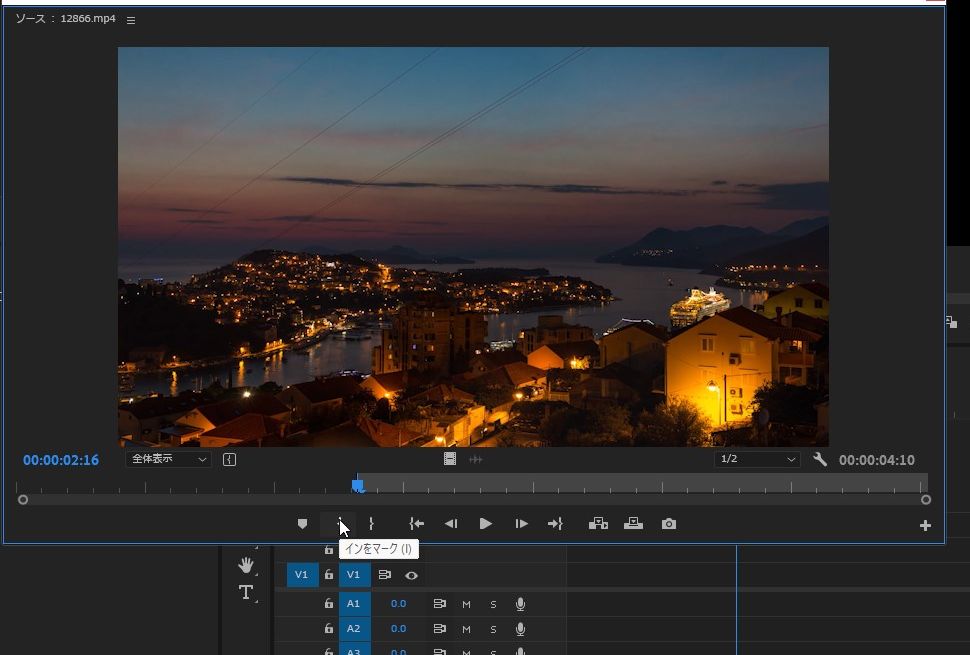
The inpoint is set!
put in timeline
In this state, clips are placed on the timeline from the source monitor.
[rml_read_more]
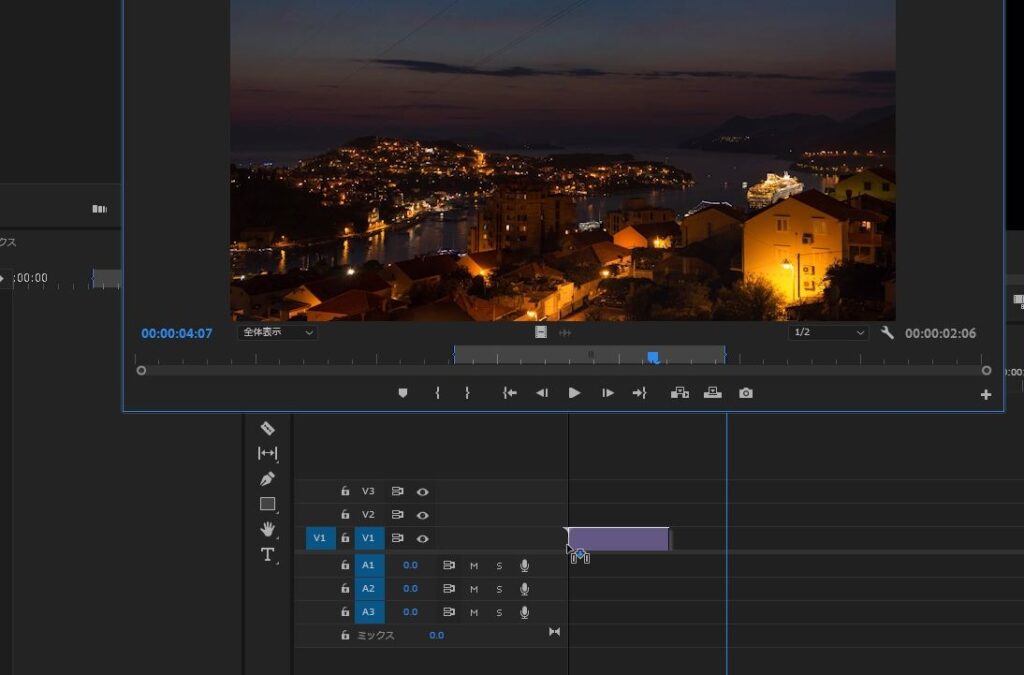
Doing so will place the clip on the timeline in a trimmed state, which is convenient!

summary
If you remember “mark in” and “mark out” this time, the efficiency of editing will increase. Let’s hold it down