
One of the convenient plugins that you can use when you want to introduce a reservation system in WordPress is the “MTS Simple Booking Plugin”.
What is the MTS Simple Booking Plugin?
“MTS Simple Booking C Plugin” is plugin software that adds a reservation system to WordPress. You can download the plug-in from the site below.

Home
MTS Simple Booking, WordPress Plugin Software

mtssb.mt-systems.jp
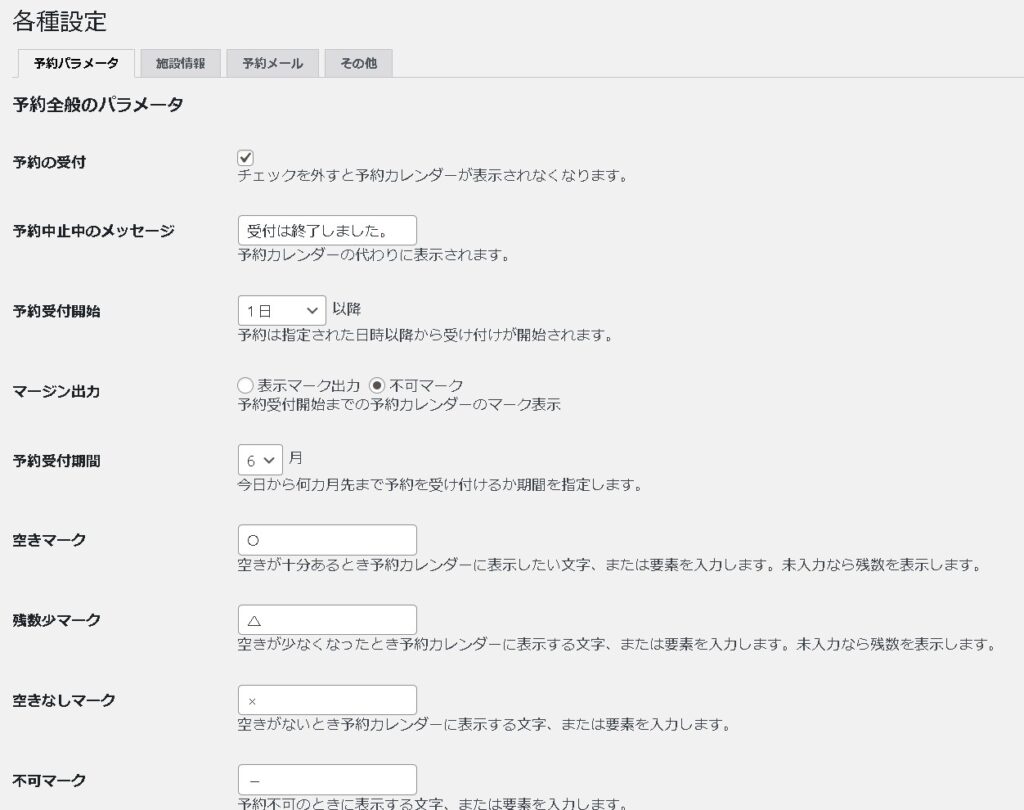
various settings
When you activate the plugin, the plugin menu will be added to the left of the management screen.
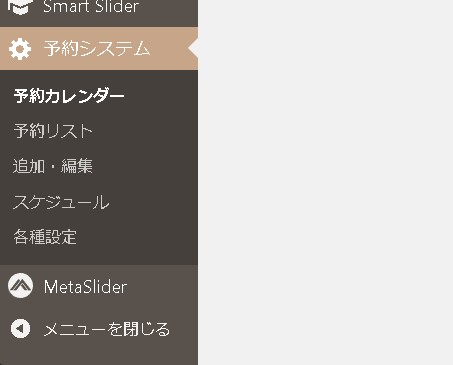
First, open various settings and turn on “Accepting reservations”.
Facility (store) information
Enter the facility information.
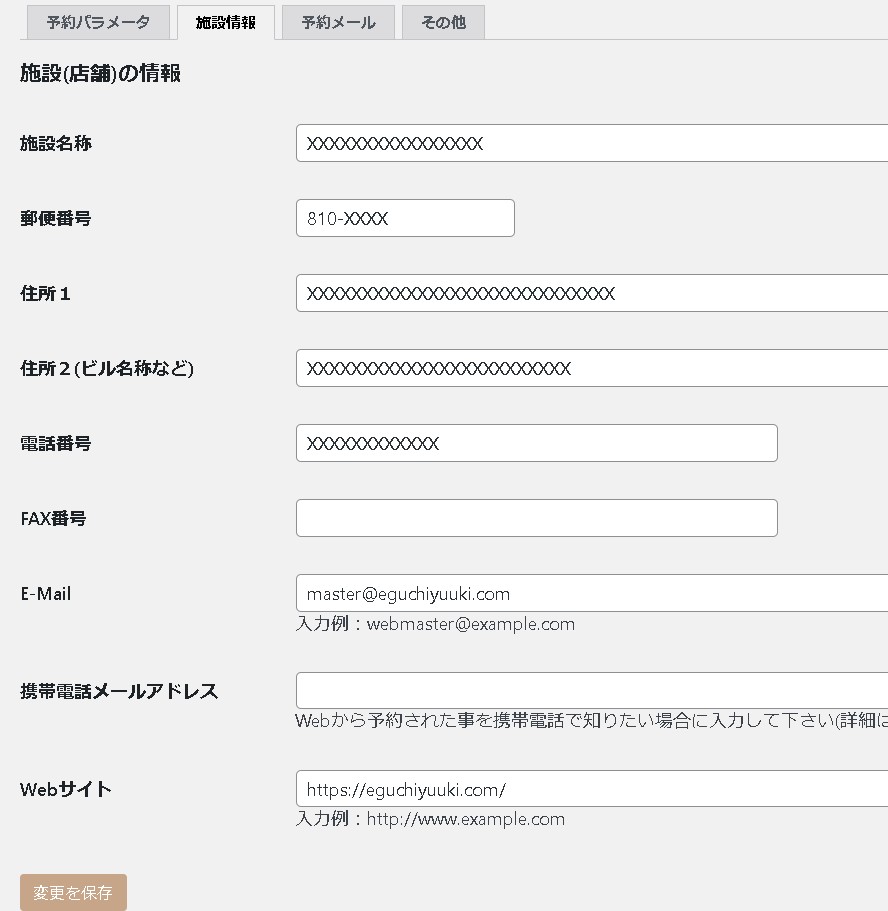
E-mail is the e-mail address that will be sent when a reservation is made from the website, so be sure to set it.
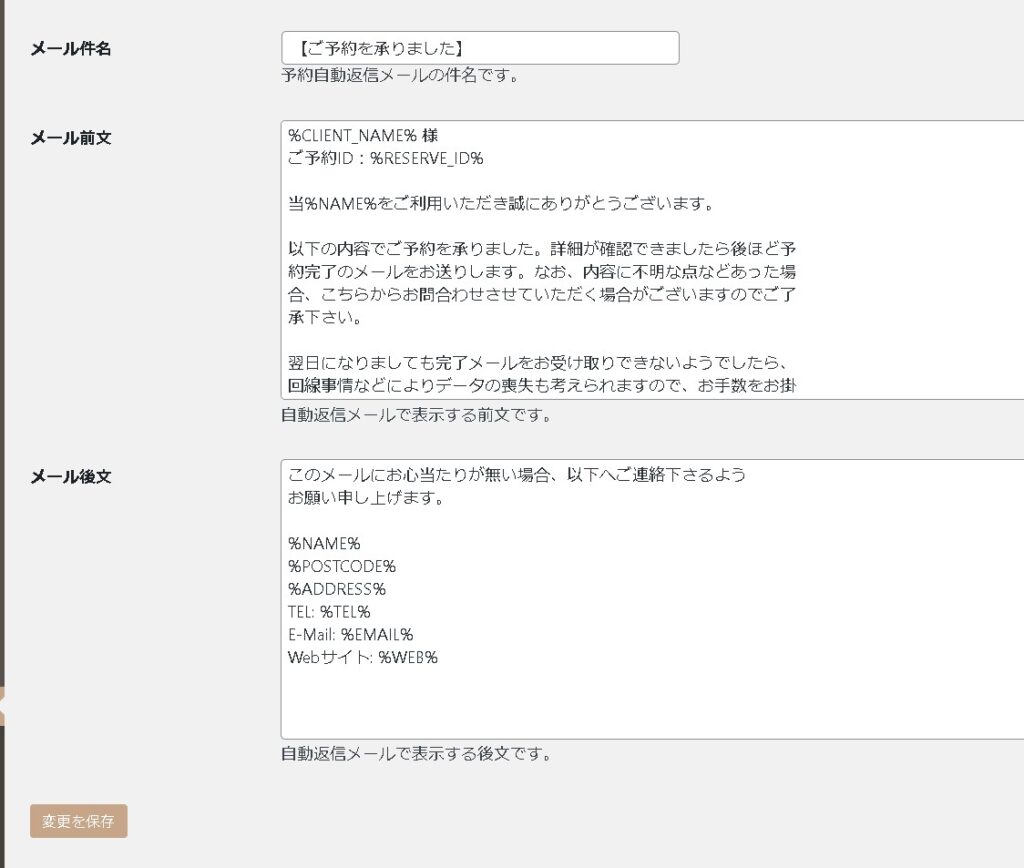
Reservation email information
Set the content of the email when a reservation is made. You can enter freely and flexibly, so let’s set the content you want to send, such as your email signature.
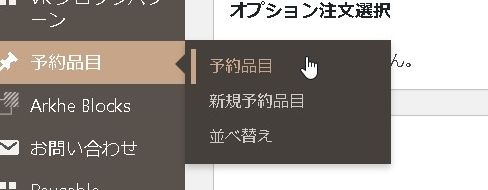
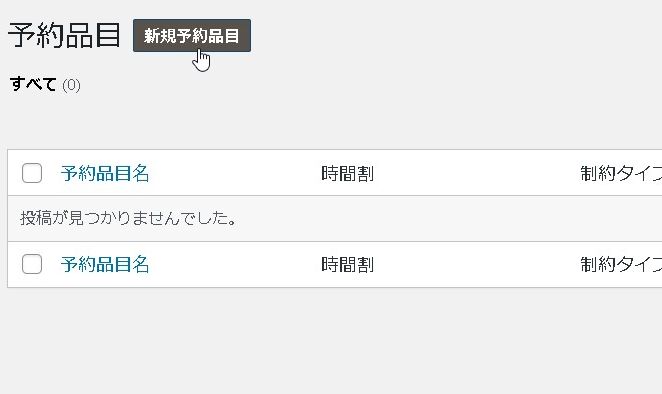
make a reservation
It gets a little more difficult from here, but we’ll take it step by step. First, create a “reserved item”.
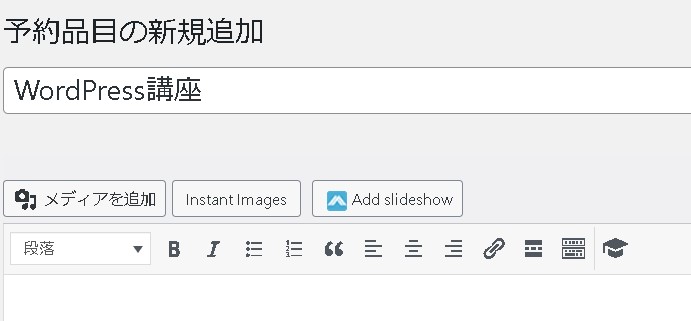
First, set the reservation title.
Set the start time from the reservation timetable.
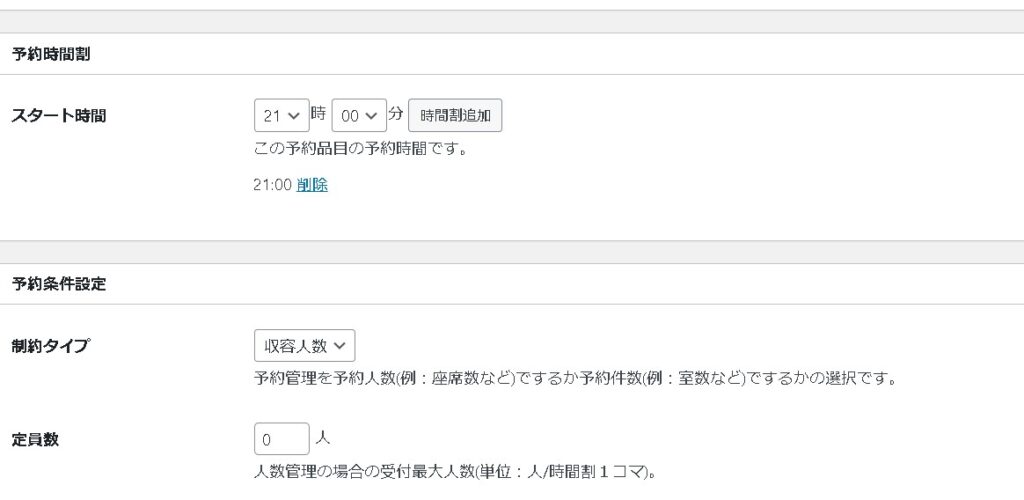
From the reservation conditions setting, we will make various settings. Constraint type should be “number of reservations” for courses. If you are making a reservation for eating and drinking, you may choose “Capacity”.
[rml_read_more]
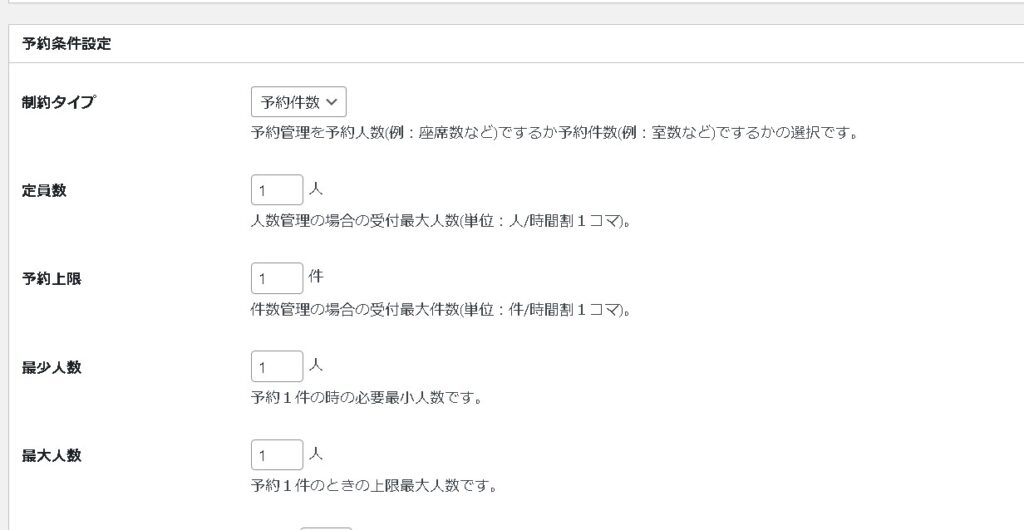
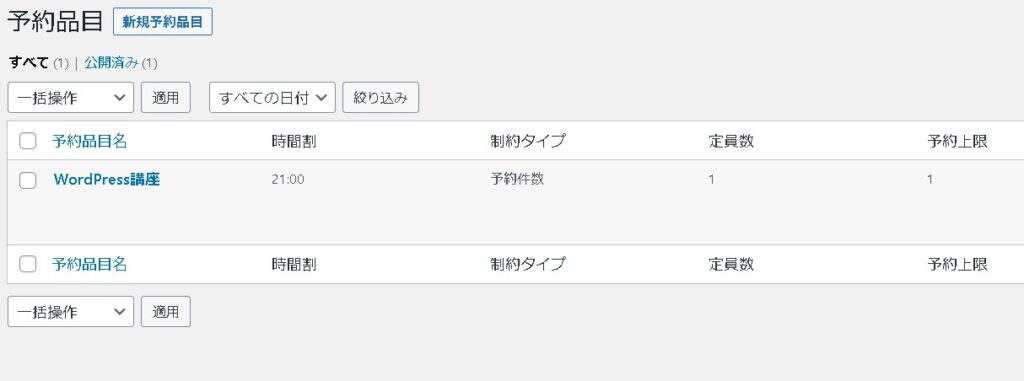
After that, if you set the number of people and reservation limit, etc. and publish it, the reservation item will be added.
summary
With this, the preparations for accepting reservations have been completed for the time being.
Next, we will create a schedule based on this reserved item.
To be continued.