Up to the last time, I was able to create a reservation item using the “MTS Simple Booking plug-in”. We will continue to set. * “MTS Simple Booking C Plugin” is plug-in software that adds a reservation system to WordPress.
Setting schedule management
After creating a reservation item, the next step is to set the schedule.
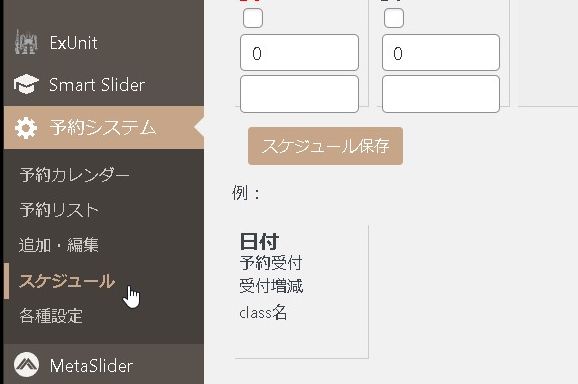
After selecting the reservation item, we will set the date when it can be received.
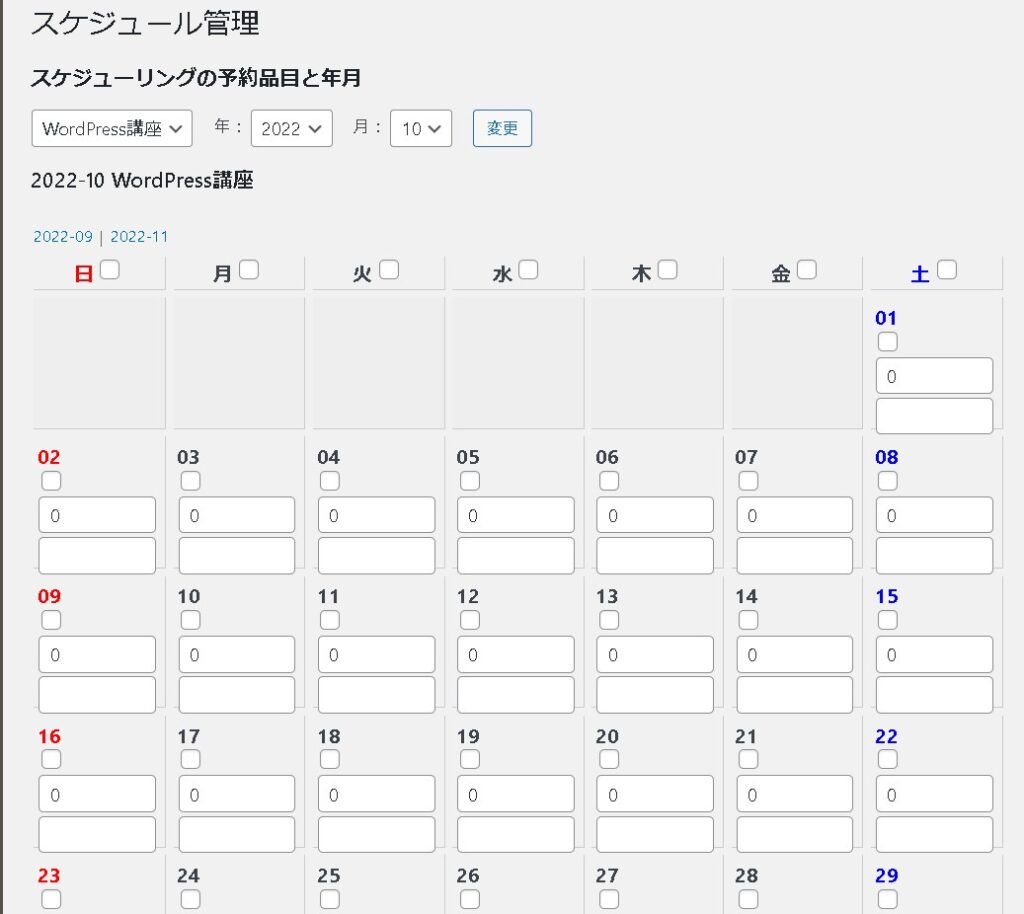
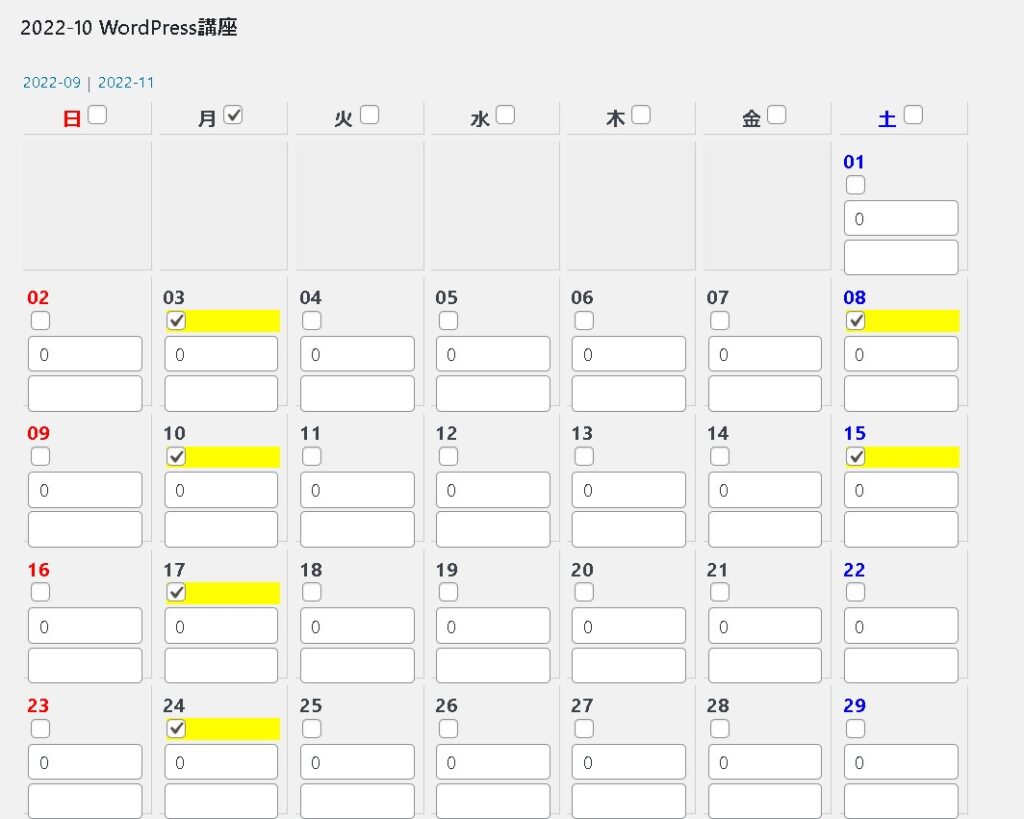
If you check the box, it will be the day you can receive it.
Create a static page that displays reservations
Create a static page that accepts reservations. Since it is decided that we need a fixed page for the slug ” booking-form “, we will create this slug page.
* This page seems to be a different page from the page that actually displays the schedule .
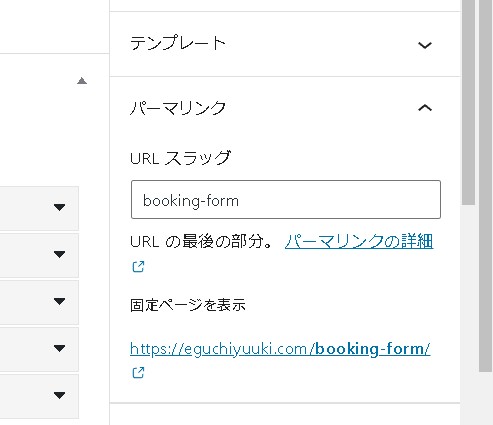
A fixed page for accepting reservations has been created.

* This page seems to be a different page from the page that actually displays the schedule .
make a thank you page
I will create another thank you page for your reservation.
It seems that this should be created with the slug “booking-thanks”, so set the slug booking-thanks.
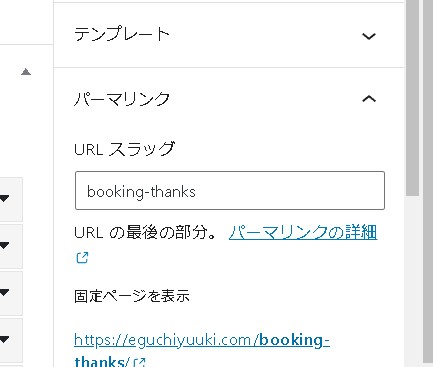
Now you will be redirected to this page when you make a reservation.
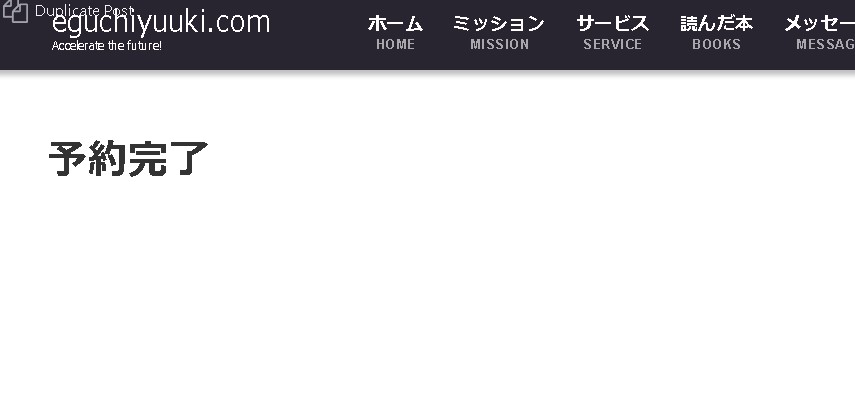
I think it would be easier to understand if you add a message such as “Reservation confirmed”.
display the calendar
Then display the calendar. Install a shortcode.
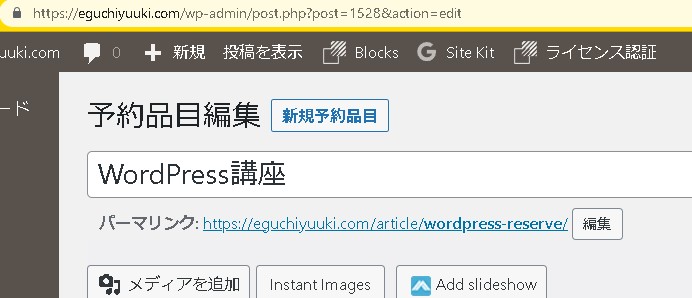
[monthly_calendar id="xx"]You can check the id in the permalink of the post edit screen.
When I inserted the shortcode into a fixed page, the calendar was displayed!
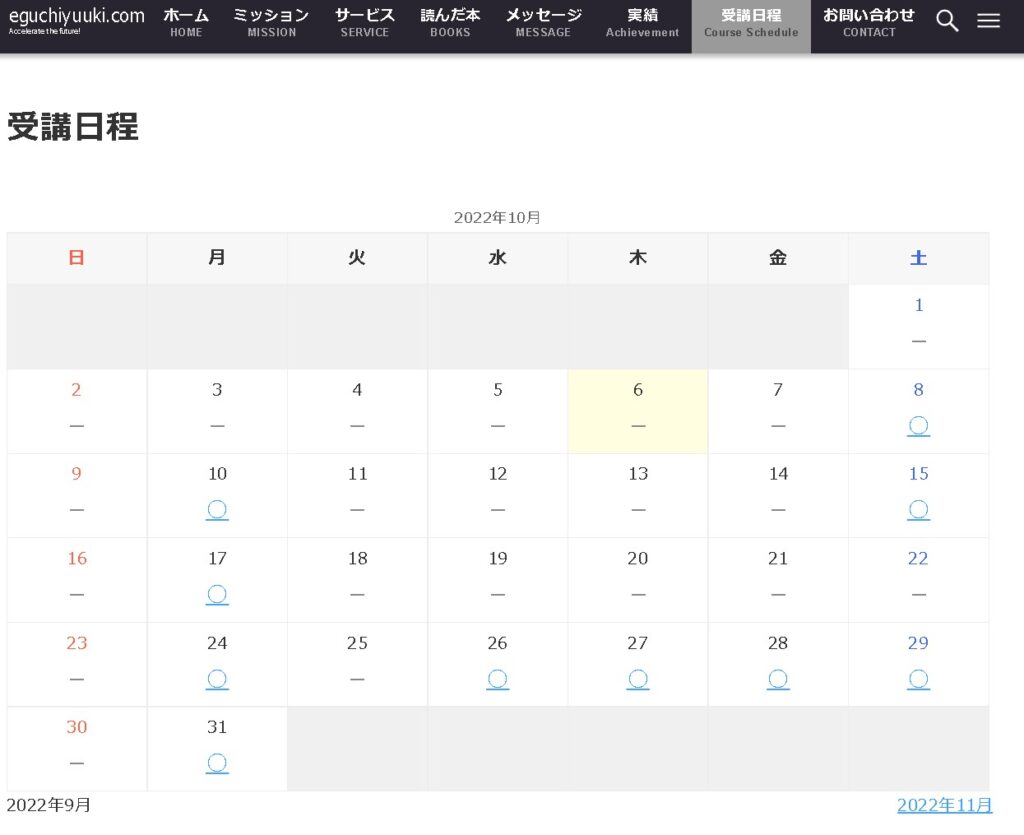
I will make a reservation.
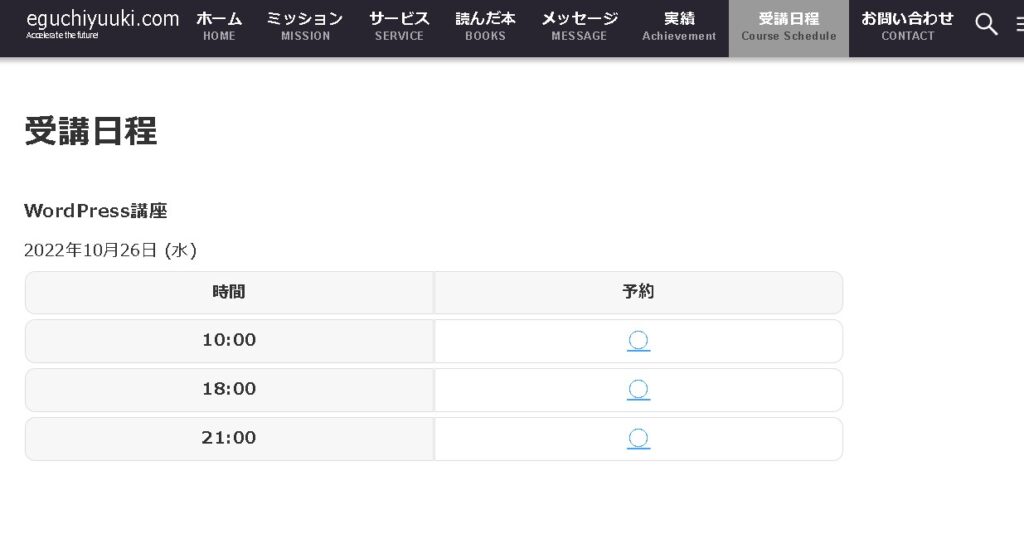
When you proceed with the reservation, you will be directed to the reservation reception page.
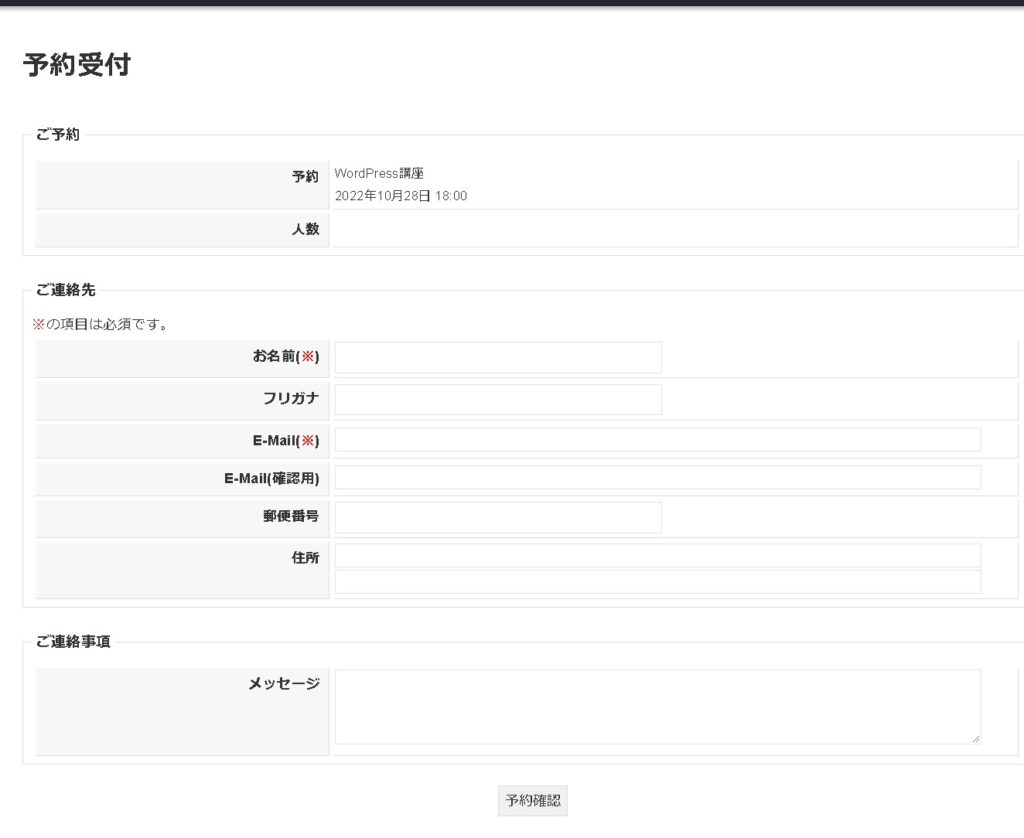
Your reservation is ready!

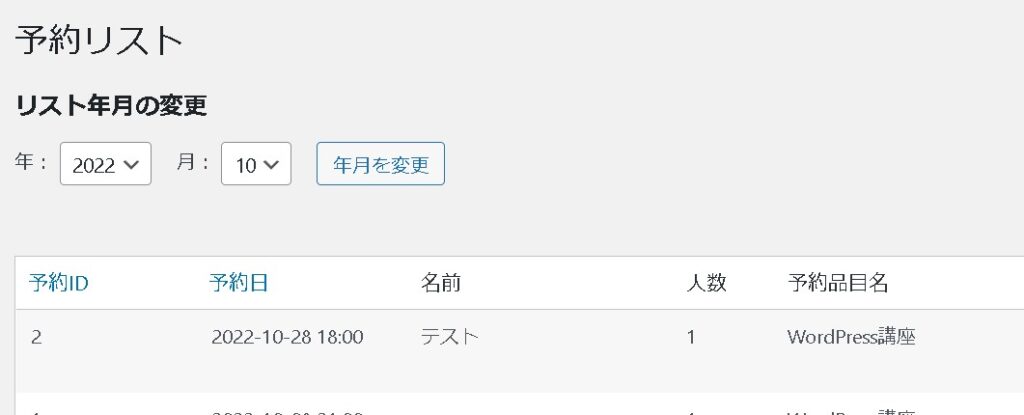
There is a new reservation in the “reservation list”.
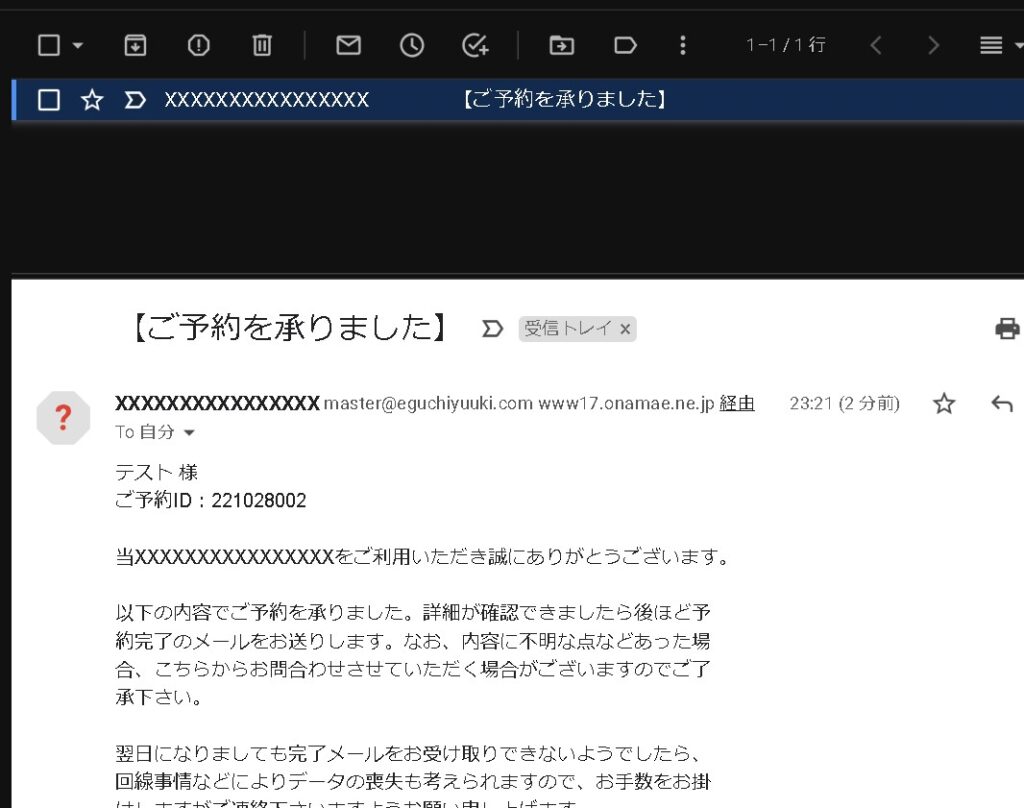
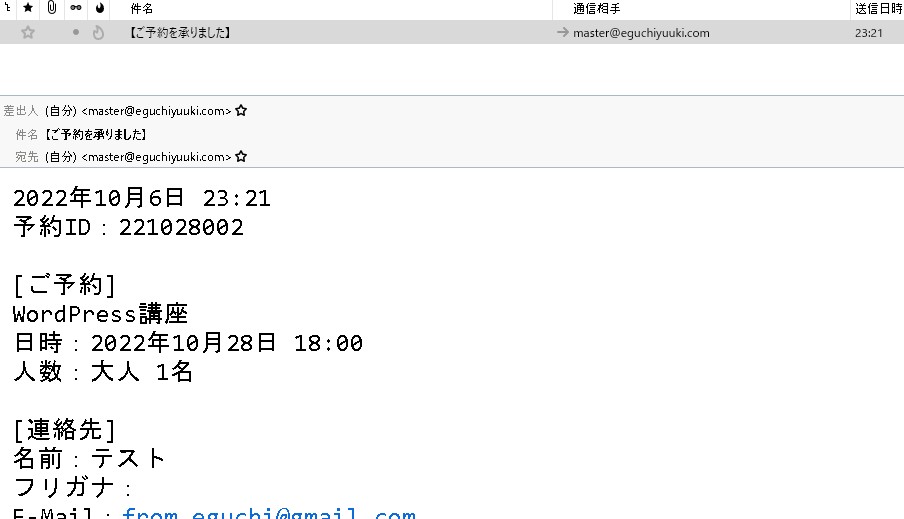
I got an email too!
summary
Now you can start accepting reservations!
With the MTS Simple Booking plugin, you can easily create a reservation system like this! Please refer to it.
