
I was able to get it using GAS when I wanted to get a list of the data of the images saved in the Google Photos album. That’s the way. It can be obtained by implementing a combination of GoogleAppsScript and Google Cloud Platform.
What is Google Cloud Platform?
Google Cloud Platform is a cloud computing service provided by Google. Although it is a paid service, it is a pay-as-you-go service, but you can use it for free up to a certain amount of usage. *Please note that if you use too much, you may be charged a high amount.

Google Cloud Platform
Google Cloud Platform lets you build, deploy, and scale applications, websites, and services on the same infrastructure as Google.

console.cloud.google.com
Create a project for the Photos Library API
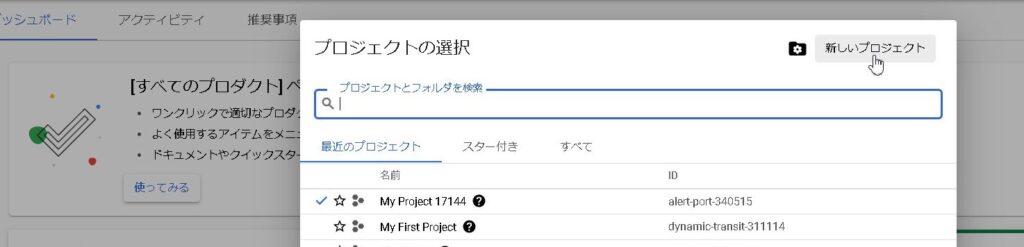
Before entering GAS, you first need to be able to use the ” Photos Library API “. Select “New Project” from the project selection screen.
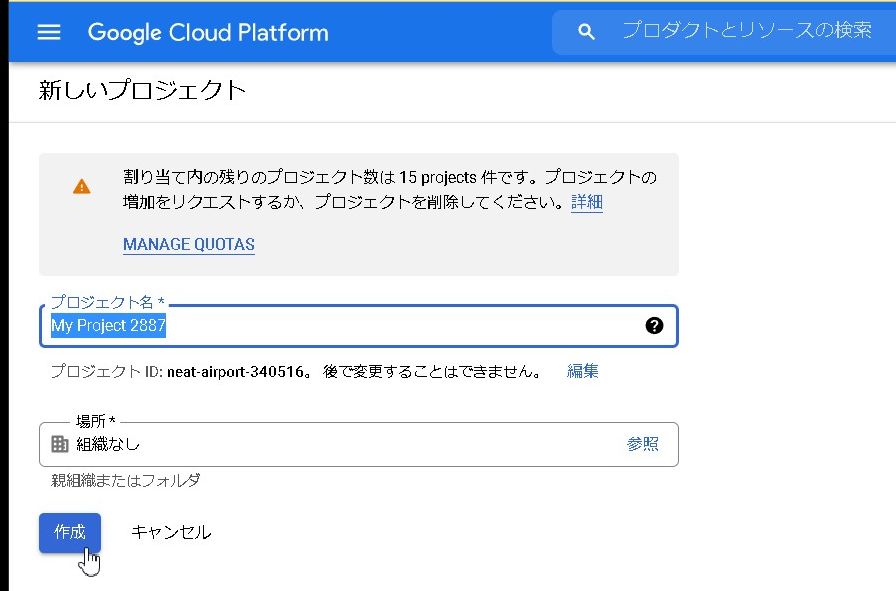
Enter the project name and press “Create”.
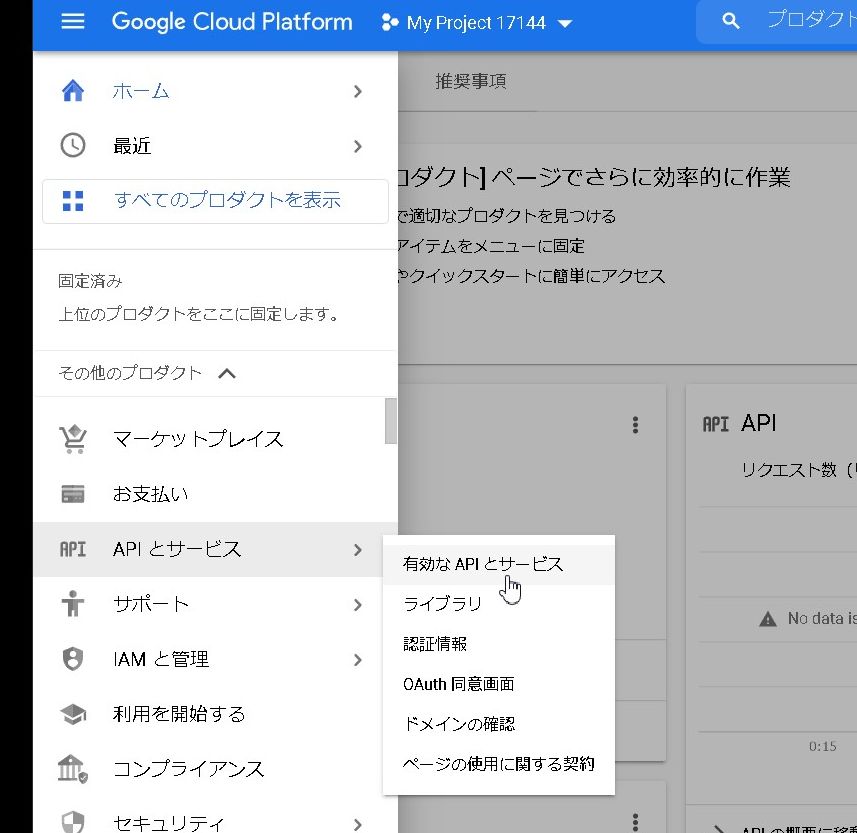
After the new project is created, select “Active APIs and Services” from “APIs and Services” in the menu.
Enable Photos Library API Service
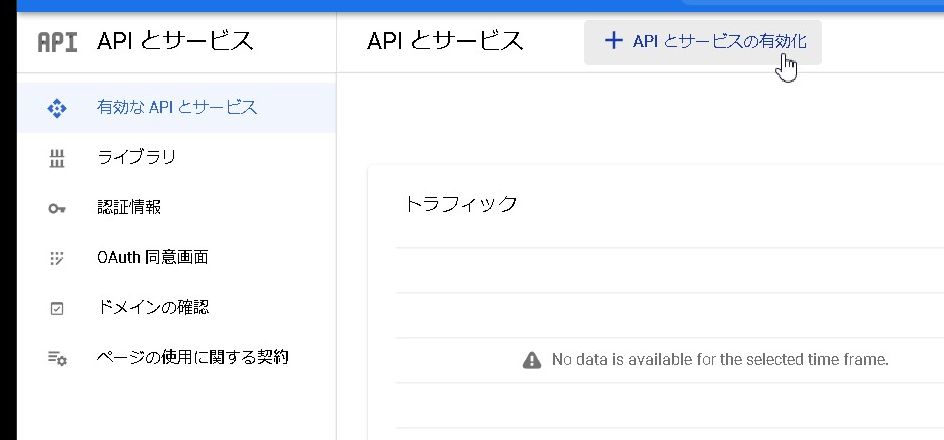
Select “+ Enable APIs and Services” from within APIs & Services.
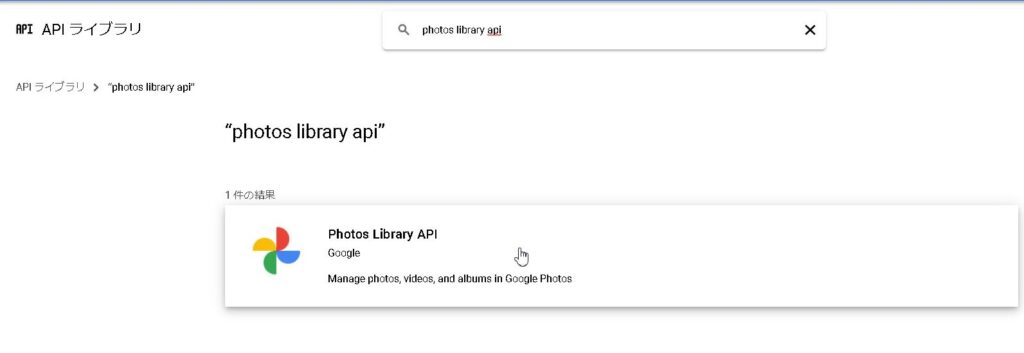
If you search for “photo” in the API library, the Photos Library API will appear in the search results.
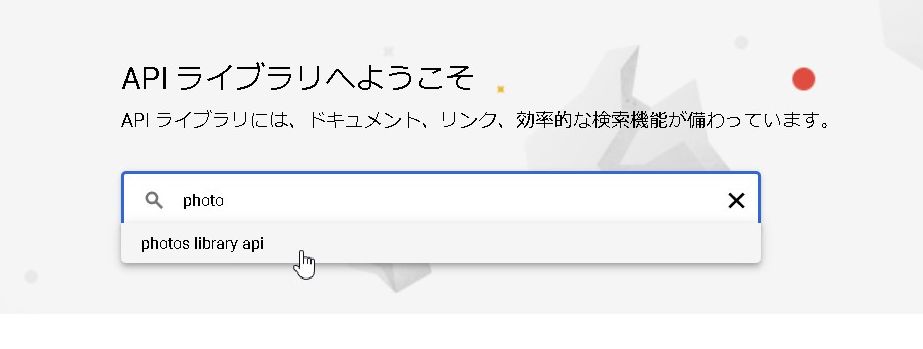
Select an API.
Click “Enable” to enable the Photos Library API.
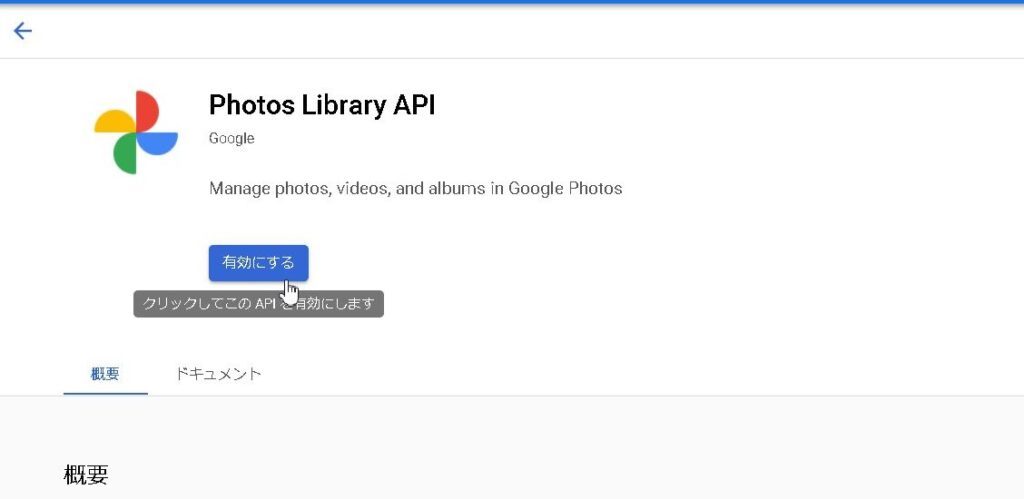
Your project is now ready to use the Photos Library API.
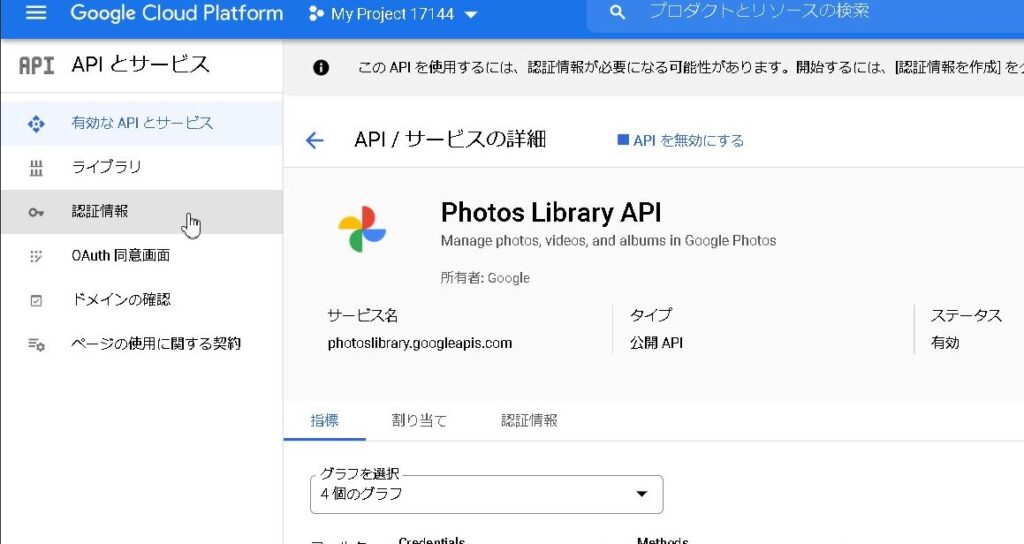
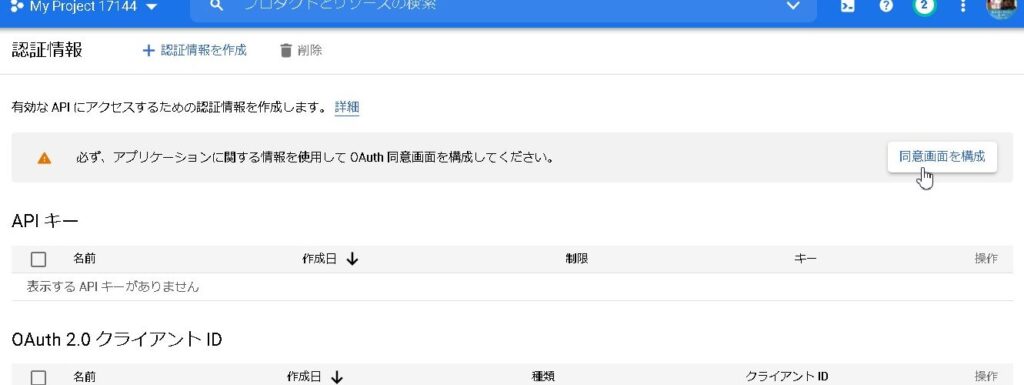
Configure the OAuth consent screen in Configure Consent Screen.
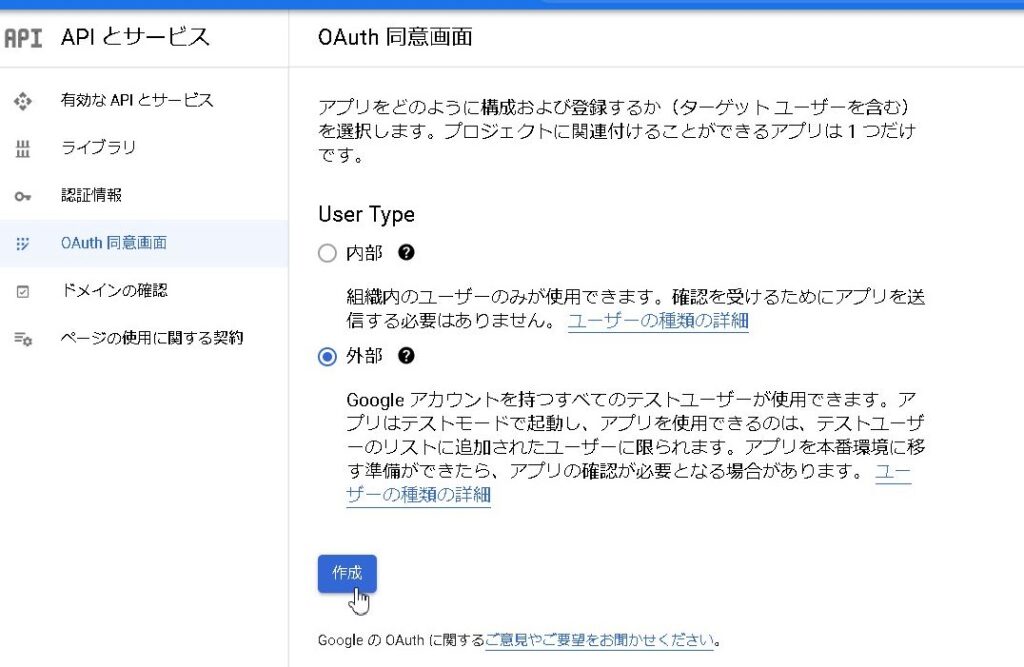
Proceed along the screen. If the UserType is internal, it must be workspace, so select external.
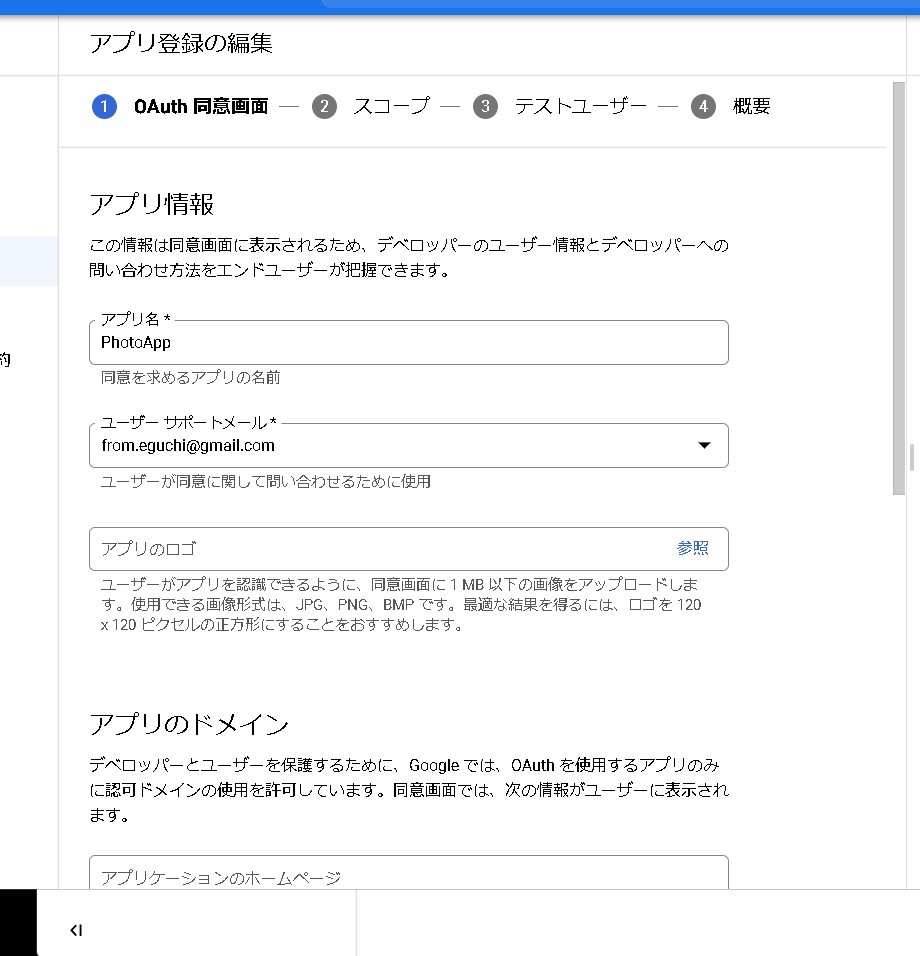
Edit the app registration. As application information, we will set the application name and email address.
Scopes represent the permissions that your app’s users are asked to grant. Set the scope if necessary. * Proceed without any particular settings this time.
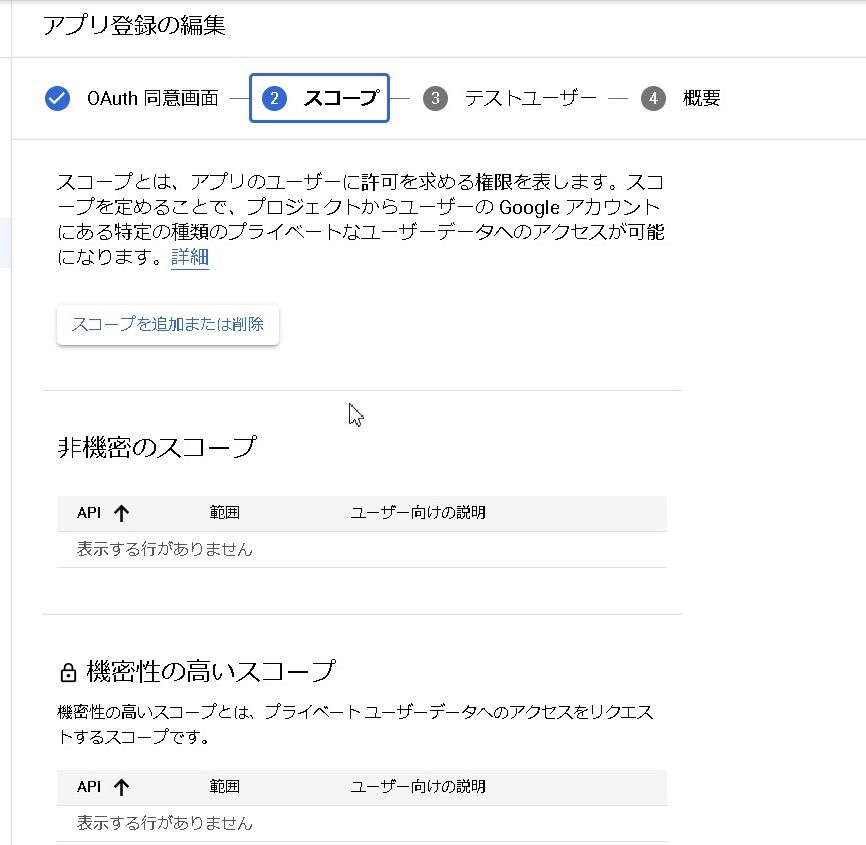
Let’s move on.

After completing the settings, select “Return to Dashboard”.
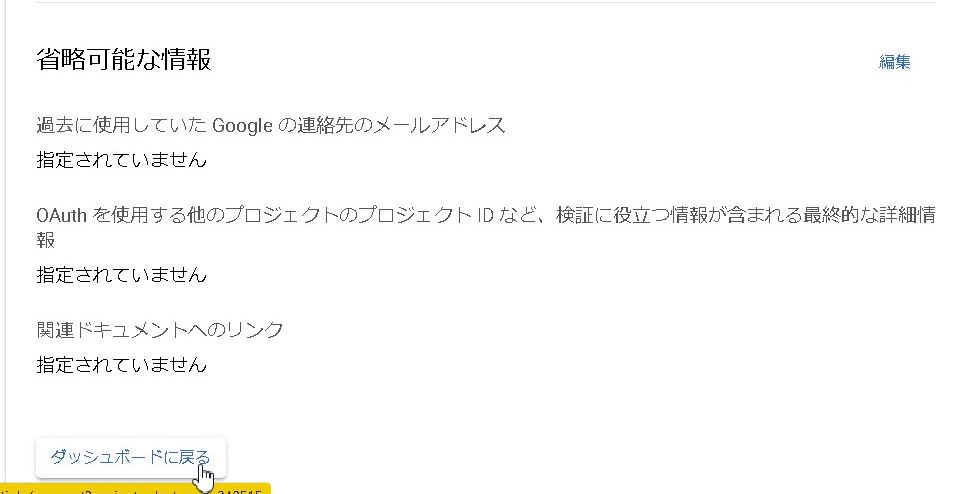
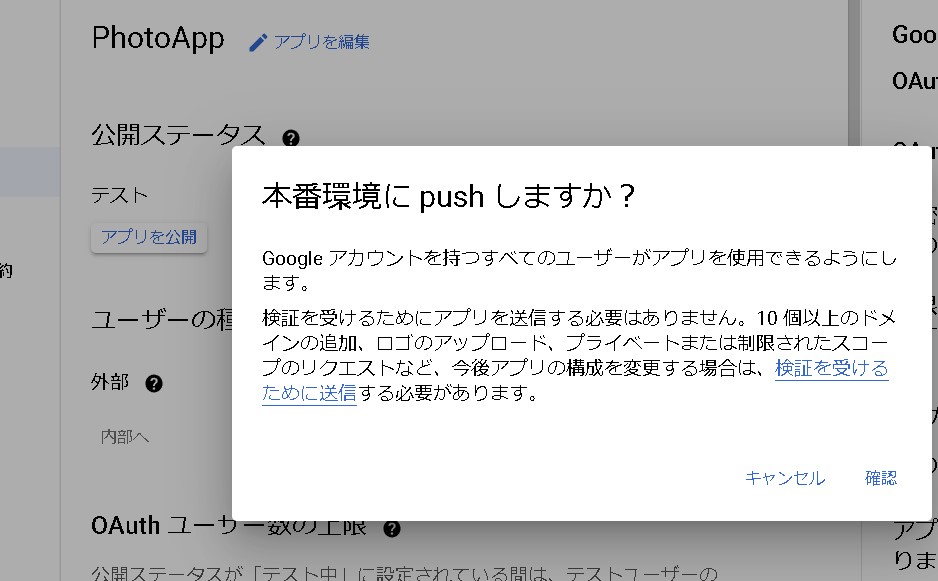
Press “Publish App” under Test to push it to the production environment. * It has not been verified whether push is necessary in the production environment, but is it probably necessary? So push it to the production environment.
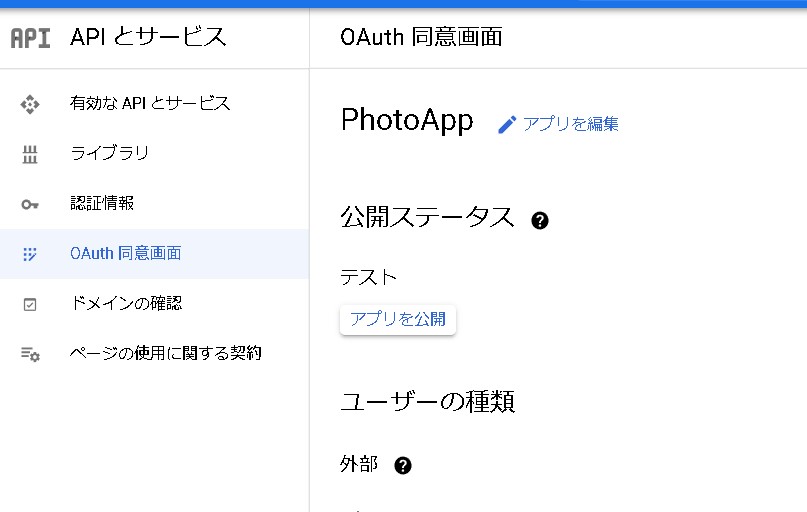
Publish status changed to “Production”.

Get OAuth Client ID and Client Secret
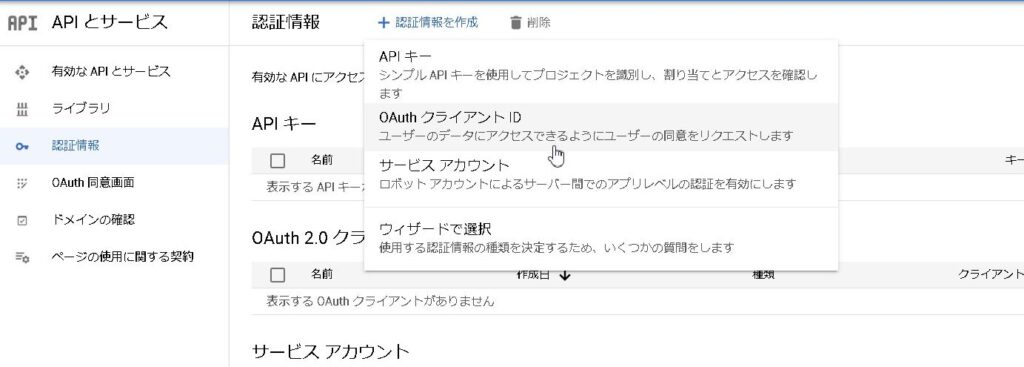
Get “OAuth Client ID” and “Client Secret” to use with GAS. Create an OAuth2.0 client ID from “+ Create authentication information”.
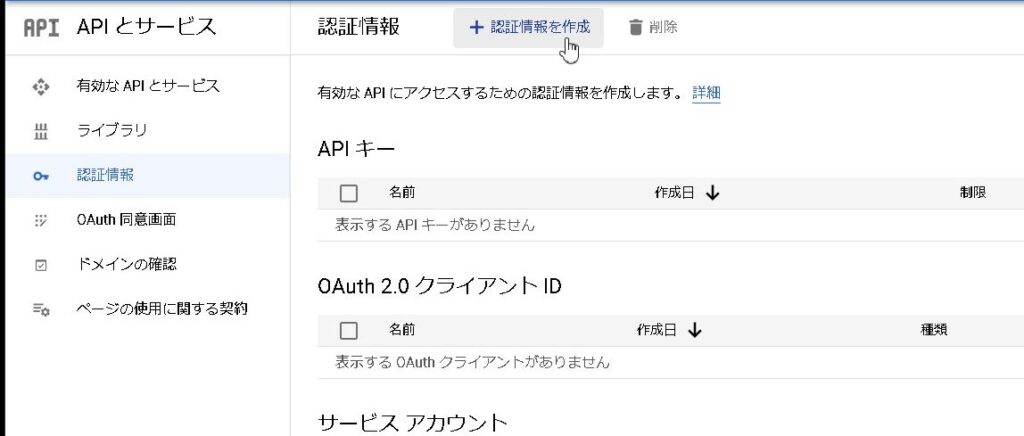
Select OAuth Client ID.
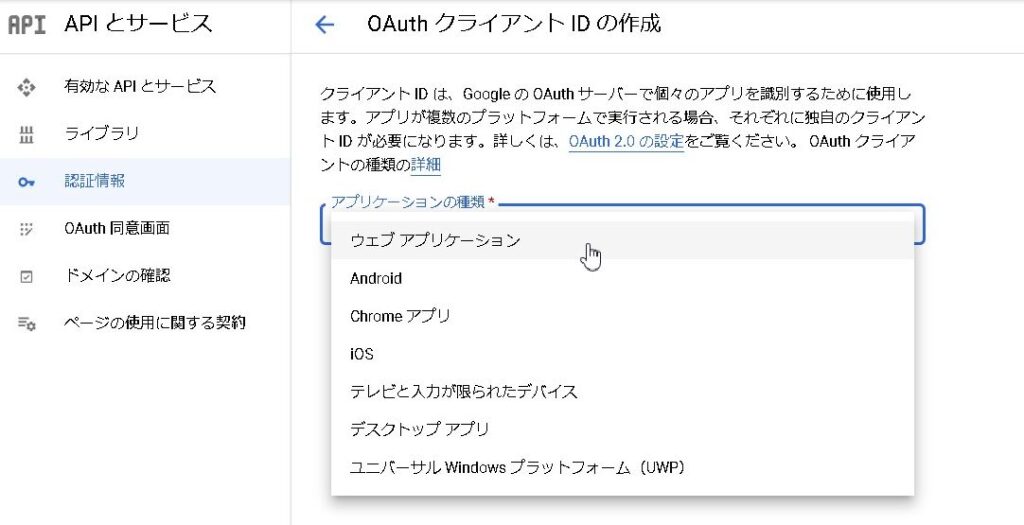
Select “Web Application” as the application type.
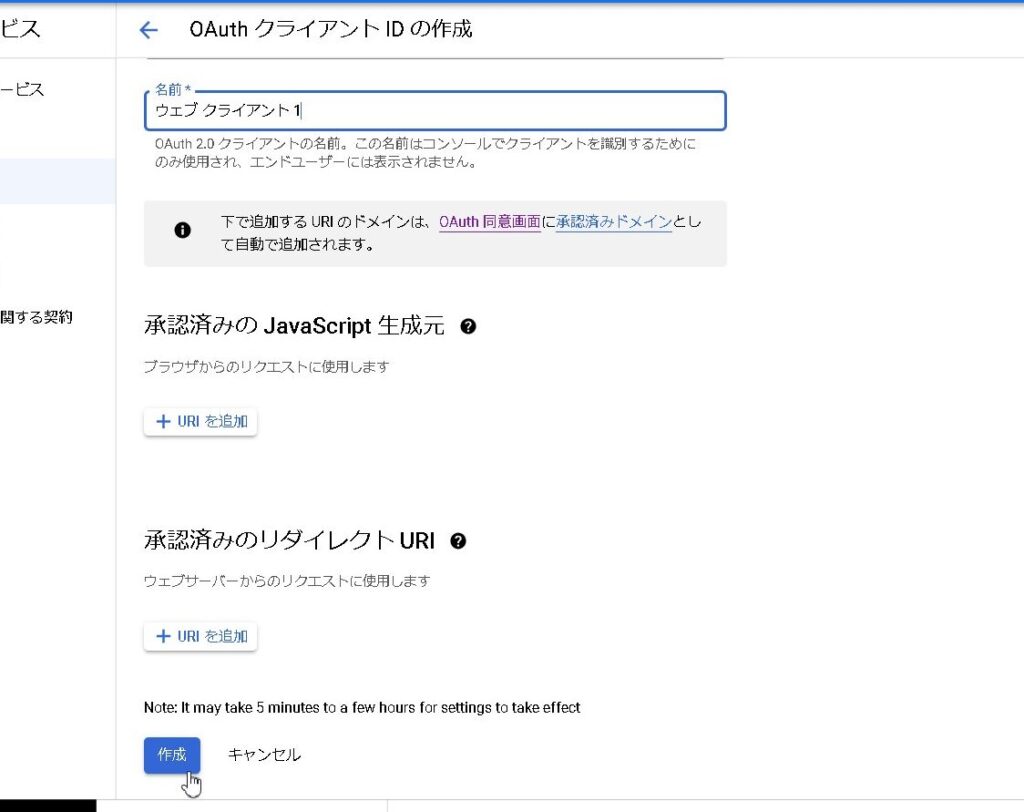
Set any name for the name. It is necessary to set the following “Approved JavaScript origin” and “Approved redirect URL”, but we will set it later, so for now, press “Create”.
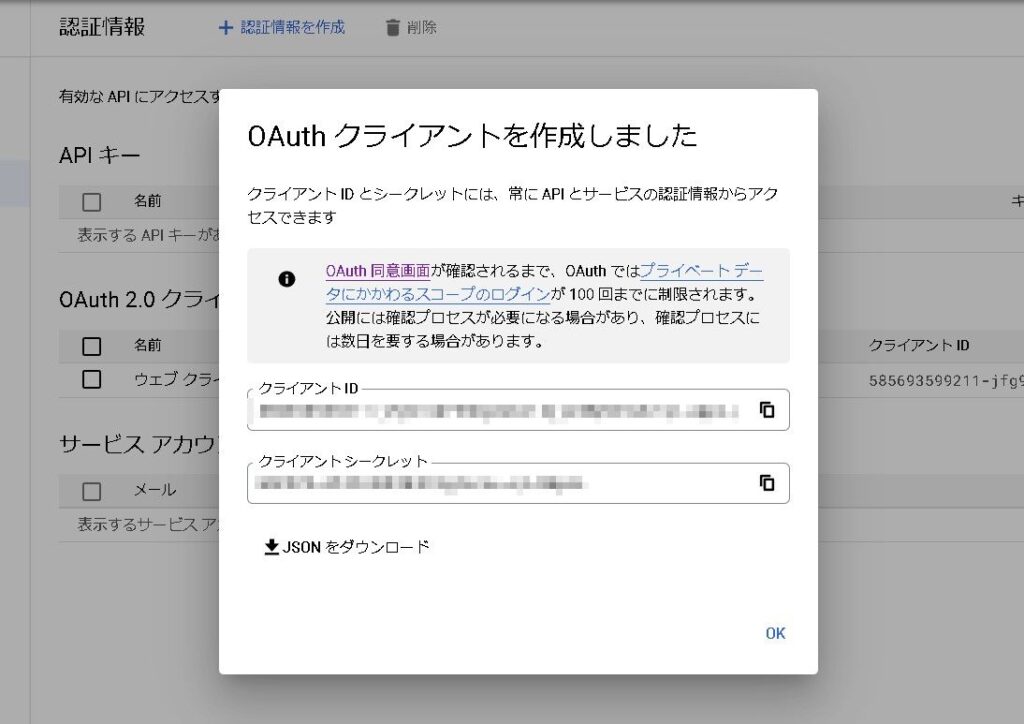
You have created an OAuth client!
This “client ID” and “client secret” are keys required for authentication, so make a note of them. *You can also check from the project management screen.
This completes the initial preparations.
Prepare Google Spreadsheet
Next, prepare your Google Spreadsheet. We don’t care about anything in the file at this point, so you can leave it blank. First, create a new Google Spreadsheet.
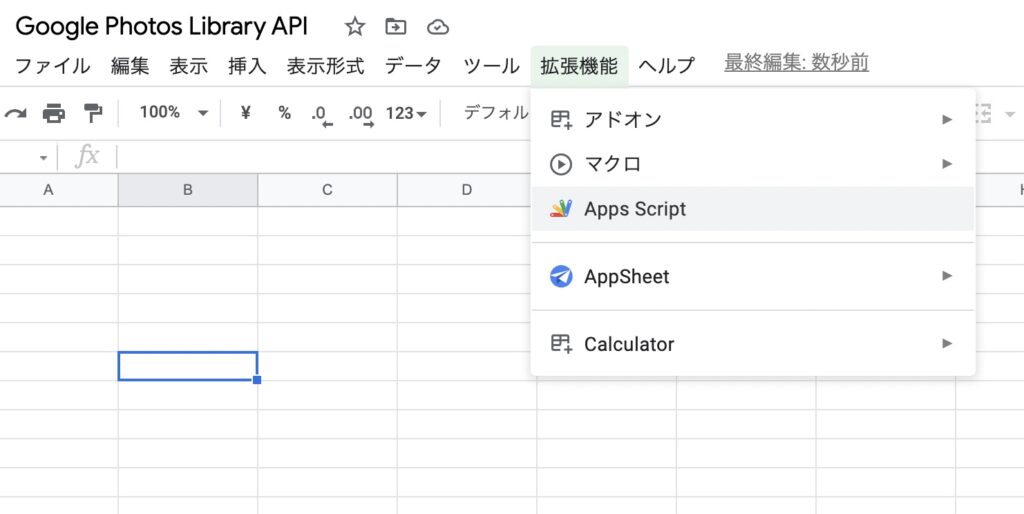
Change the file name and open Apps Script.
Prepare common library
Set the common library in a global variable.
//PhotoLibrary定数
const baseUrl = 'https://photoslibrary.googleapis.com/v1/albums';
let accessToken = ''
//認証用
const tokenurl = "https://accounts.google.com/o/oauth2/token"
const authurl = "https://accounts.google.com/o/oauth2/auth"
const clientid =    'XXXXXXXXXXX';
const clientsecret = 'XXXXXXXXXXXX';
const scope = "https://www.googleapis.com/auth/photoslibrary"
//スプレッドシート用
const activeSheet = SpreadsheetApp.getActiveSheet();
For clientid and clientsecret, set the client ID and client secret issued earlier on Google Cloud Platform.
Other parts can be used at the moment, but please be aware that API specifications and scopes may change in the future.
Create an authentication screen for OAuth2.0 authentication
I was wondering how to implement the OAuth2.0 authentication part, but there were other people who tried it, so I used it as a reference.
[rml_read_more]
function onOpen() {
SpreadsheetApp
.getUi()
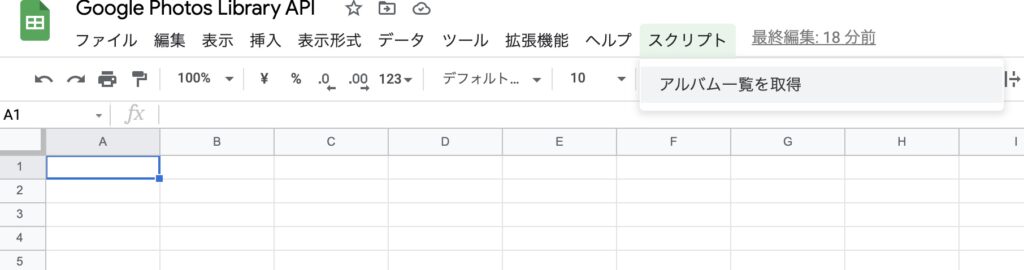
.createMenu('スクリプト')
.addItem('アルバム一覧を取得', 'getAlbumData')
.addToUi()
}
function getAlbumData() {
const ui = SpreadsheetApp.getUi()
// 認証の確認
const service = checkOAuth()
if (!service.hasAccess()) {
//認証画面を出力
const output = HtmlService.createHtmlOutputFromFile('template').setHeight(310).setWidth(500).append(authpage()).setSandboxMode(HtmlService.SandboxMode.IFRAME)
ui.showModalDialog(output, 'OAuth2.0認証')
} else {
//2. 認証されている場合、下記スクリプトを実行
getAlbums();
}
}It is a method to display authentication on the screen by adding a script for authentication to the menu. Certainly, there is a way to display it in the menu and have it executed!
summary
For the time being, we are now ready to get Google Photos data with the Photos Library API. Next time, we will create from acquiring data to embedding it in iframe on the site